
Client Portal - How To Guide
Step 1.
Navigate to www.usherwood.com
Click the Client Portal link in the top right of the navigation bar.

CREATING A NEW USER
Step 2.
Click the New user? Sign up now link.

SIGN UP PAGE
Step 3.
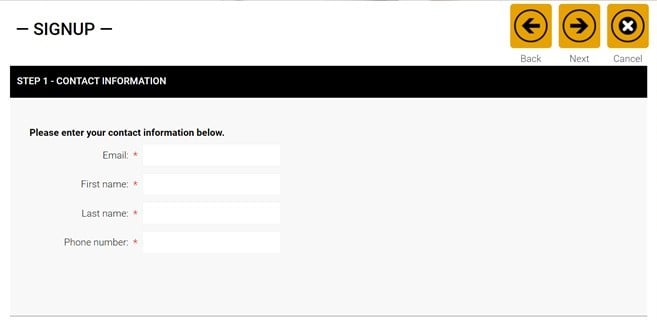
In the Step 1 – Contact Information region, enter the appropriate information in the following fields:
Email: Primary email address for the e-info contact.
Note: When you log in to the e-info web page, this email address will be your user name.
First name: First name of the e-info contact.
Last name: Last name of the e-info contact.
Phone number: Primary phone number for the e-info contact.
IDENTIFY BY COMPANY NUMBER
Step 4.
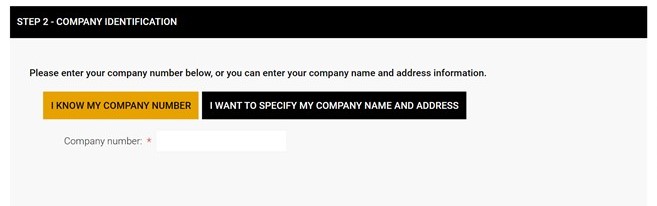
To identify your company by company number, do the following:
Select the I know my company number option.
In the Company number field, enter your company number. This can be obtained from your service technician or your latest invoice.
To identify your company by company name and address, do the following:
Select the I want to specify my company name and address option.
Enter the appropriate information in the following fields:
Company name: Name of your company.
Address: Physical address of your company.
City: City in which your company is located.
State: State in which your company is located.
Zip: Zip code in which your company is located.
CREATE A PASSWORD
Step 5.
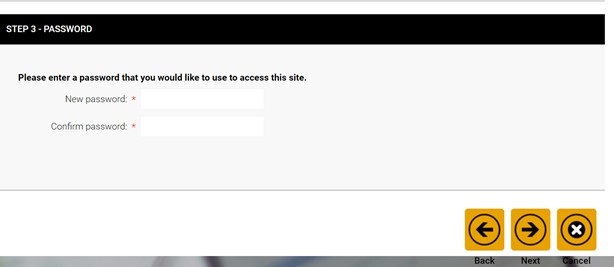
In the New password field, enter the password you want to use to log in to e-info.
In the Confirm password field, reenter the password you entered in the New password field.
Click [Next]. If you successfully created a new use account, the system displays the Signup Complete page.
Note: If the system does not display the Signup Complete page, review the information displayed and update the signup information as necessary.
To log in, click the Log In link at the top left of the Signup Complete page.
Step 6.
The system re-displays the Log In page.
In the User name field of the Login tile, enter the email you listed for the new user account.
In the Password field, enter the password you listed for the new user account.